
This article explains how to enable Cribl Packs to work with GitHub CI/CD. By storing your Pack in a Git repository, you can take advantage of version control and CI/CD while developing and collaborating. Multiple collaborators can pull changes into their own branches, improve the Pack, and then push their work to be merged into the production branch. The production Cribl Leader will be upgrading the pack from the production branch.
Initial Setup
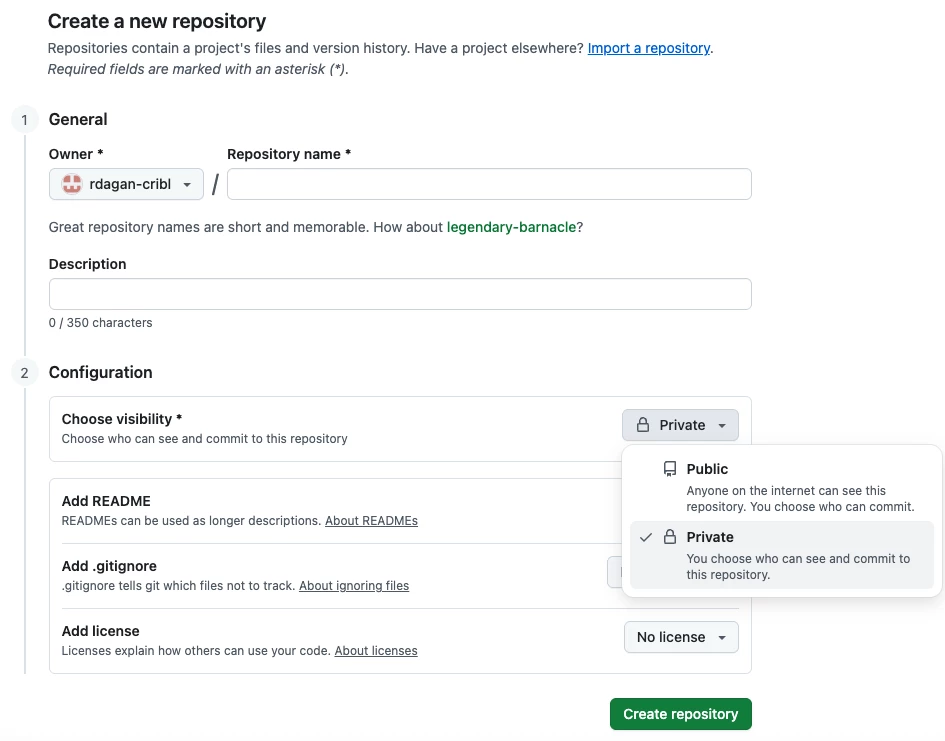
Before we can upload the Pack to GitHub, in the GitHub UI, create a new private repository. In the upper-right corner of any GitHub page, locate the "+" icon and click on it. From the dropdown menu, select "New repository”, then select "Private" repository. Enter the repo name, e.g. https://github.com/rdagan-cribl/my-fortigate-pack.git .
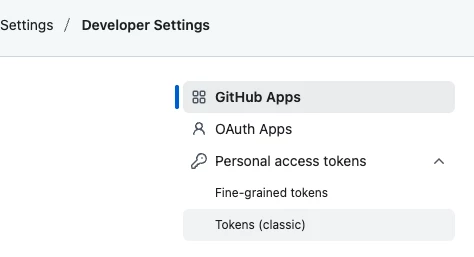
Create a new GitHub PERSONAL_ACCESS_TOKEN
Under your GitHub user profile, go to “Settings” -> “Developer Settings” -> “Personal access tokens” -> Tokens (classic). Make sure you Copy the value of PERSONAL_ACCESS_TOKEN to your notepad.
Copy the Initial Pack to GitHub using The GitHub UI
Download the existing Pack from the Cribl Pack Dispensary or from the Cribl Leader UI to a your local system and untar the Pack. For example:
/Users/rdagan/Downloads/FortigatePack % tar xvf cribl-fortinet-fortigate-firewall.crbl
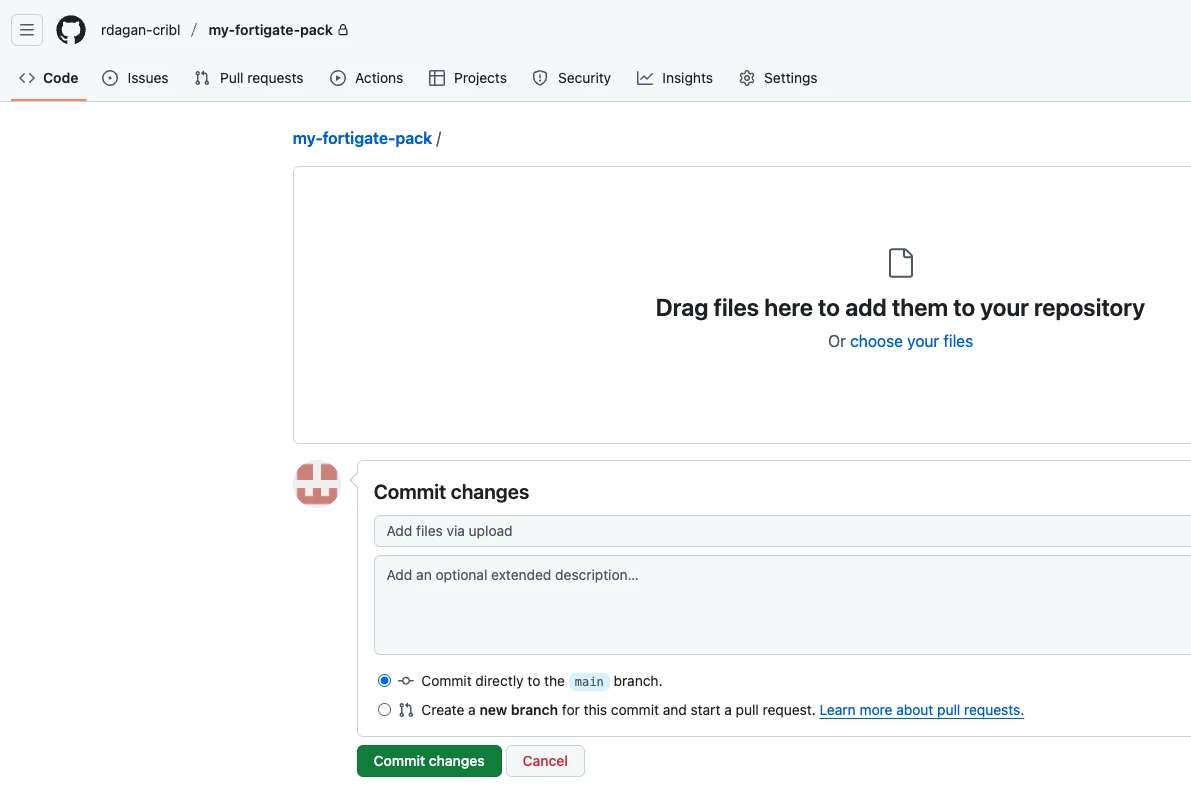
In the GitHub UI, go to your Repository -> Add Files -> Upload Files. Drag all the files **EXCLUDING THE .CRBL FILE** to the repo and commit changes.


Setup CI/CD in GitHub and the Cribl Leader UI
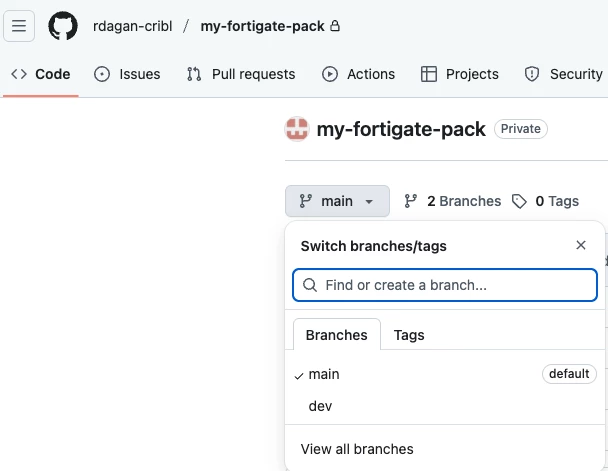
Next, create a dev branch for the repository. In the Code tab, click New Branch and enter the branch name as “dev”. After this step, we will have two copies of our Pack configurations: one in ‘main' and another copy in the 'dev’ branch.
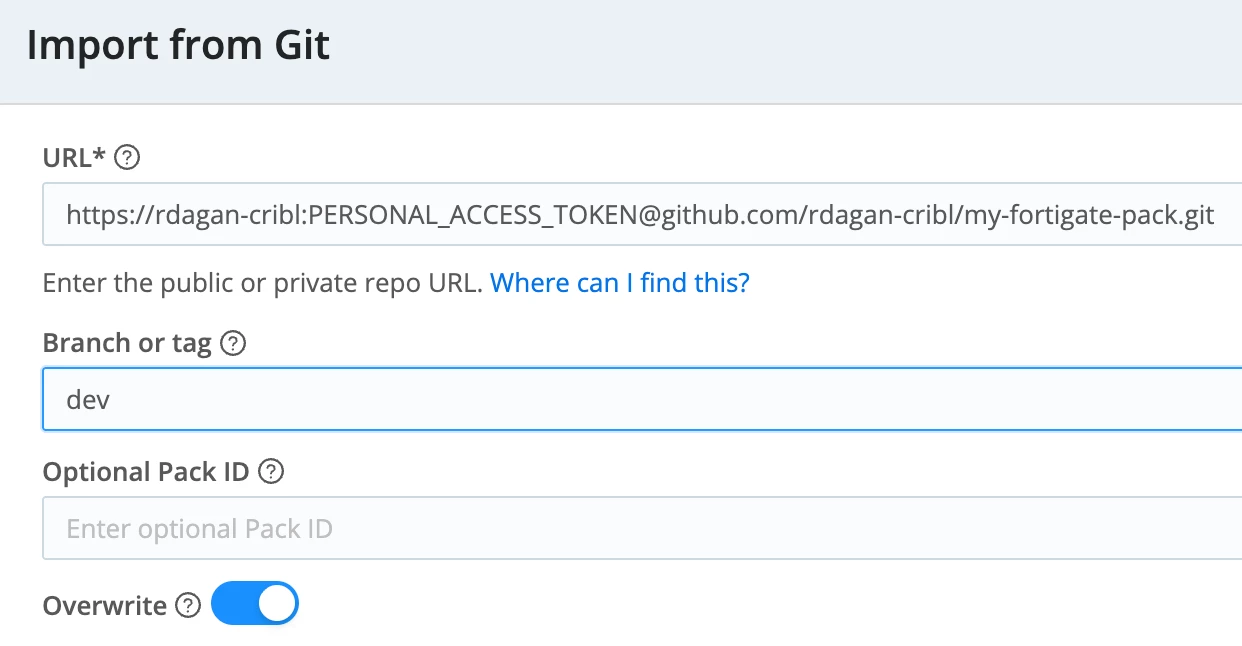
Next, in the Cribl Leader UI, import the Pack from the Git ‘dev’ branch into the Cribl Leader. Enter the URL (for example: https://rdagan-cribl:%3CPERSONAL_ACCESS_TOKEN%3E@github.com/rdagan-cribl/my-fortigate-pack.git). And use the ‘dev’ branch.
In the Cribl Leader UI, add a new Function, Pipeline, or Route to your Pack. Then export the Pack back to GitHub with ‘ Publish to Git’. This will push your changes to the ‘Dev’ branch.

And in the GitHub UI, merge the Dev updates Into Main. Click the Compare & Pull Request button -> Merge pull request -> Confirm merge -> Create a merge commit is selected.

Pull the Main Pack Changes into Production
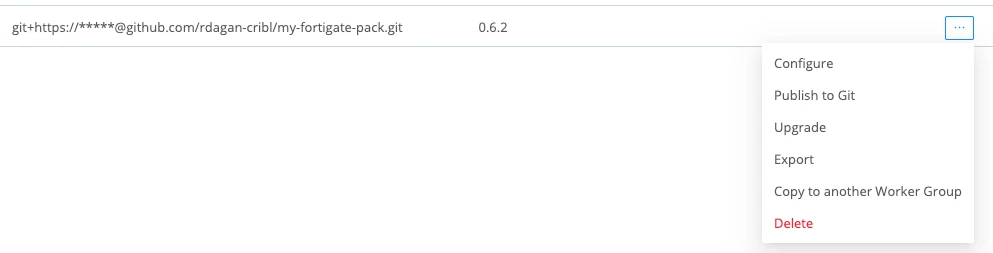
On the Cribl Production Leader, we are going to Pull the pack from the ‘main’ branch. Note: the pack will not be upgraded unless the Pack Version has been modified. In this example, the version was upgraded from 0.6.1 to 0.6.2. In the Cribl Leader UI, select Packs -> Actions -> Upgrade -> Upgrade from Git. Input ‘main’ as the branch.
Summary
The above example shows how to enable Cribl Packs to work with GitHub CI/CD. Now you can collaborate with others and have your Pack configurations stored in your repository!